Using Ableton Digital Instruments in Adaptive Music Lessons

Sep 7 / Justin Frenette and Olivia Adams
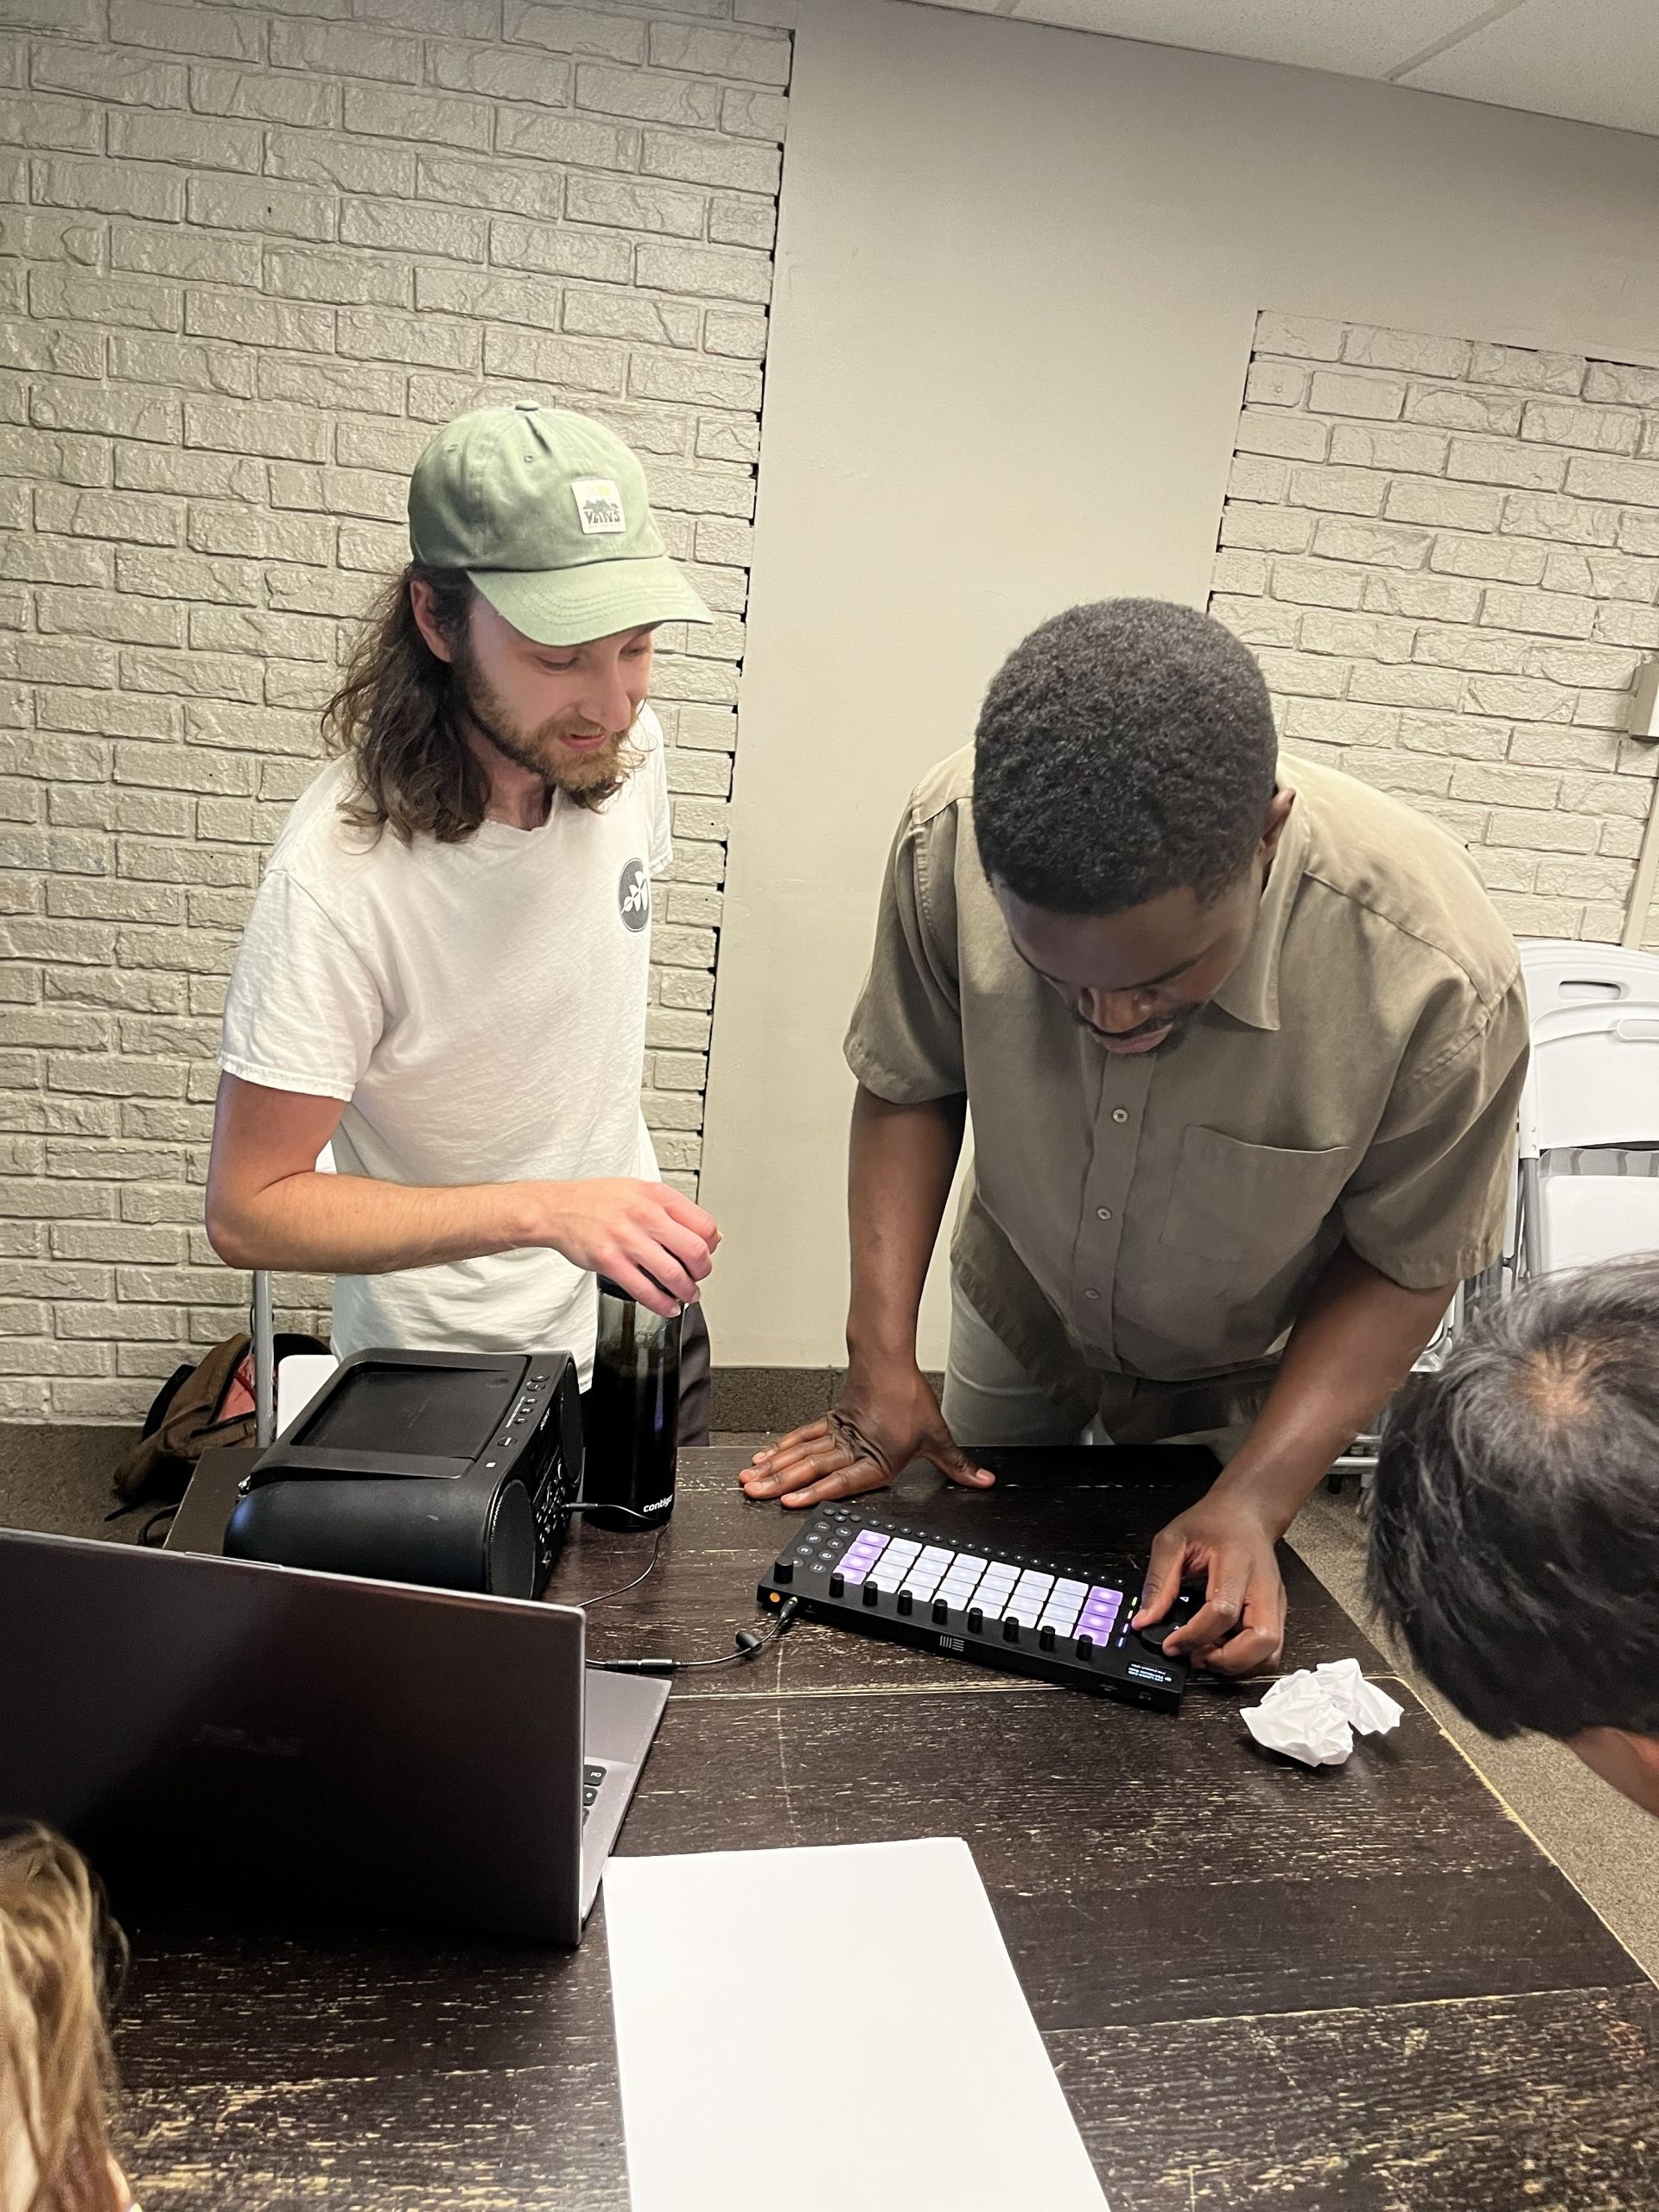
Are you looking for a fun and interactive way to incorporate digital instruments into your music lessons? Look no further than the Ableton Move and Push devices! These digital instruments from Ableton are versatile and user-friendly, provide visual, auditory and kinesthetic sensory input, and help foster creativity and playfulness for learning to compose, arrange, or produce music. They are wonderful tools to use in an adaptive music lesson, group sessions like in an adaptive Rock Band, or supporting students who are interested in digital music creation and producing. 
Because these instruments are button activated, they are great for students who use AAC devices, power chairs, or switch-activated assistive devices in their daily living. The Abletons are mobile enough to fit on a wheelchair tray table, and open up more instrument possibilities for students with low or lagging fine and gross motor skills. Electronic instruments open up a world of possibilities that might have been previously unavailable to students lacking the motor skills or coordination needed for some traditional acoustic instruments.

Before trying out the Abletons in your music lessons, we highly suggest watching some tutorial videos. Be on the lookout for Lotus Music’s free adaptive instrument mini-course dropping later this fall through our Professional Development Institute. In there you will find videos on how to use Ableton Move and Push for beat-making, melody-making, sampling, troubleshooting, and free resources for using Abletons in an adaptive music context. Many of the tips we will provide can be adapted to any drum machine or MIDI controller you may have, but we find the Abletons particularly well-suited to adaptive music.

Here are some suggestions for using Ableton Push and Move in your music lessons and classes.

Our Ableton tips for adaptive music lessons
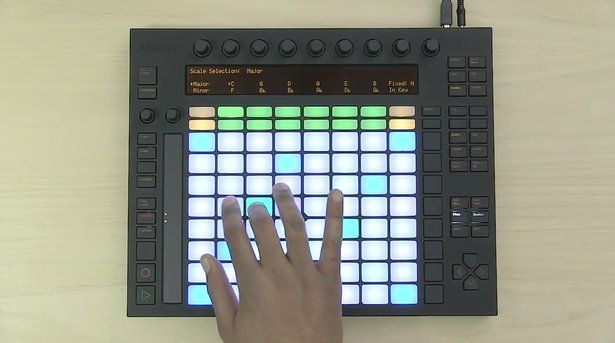
  1. Have fun with scales. Abletons are programmed with a variety of musical scales, where each button on the grid is a note of the scale. You can select a specific scale in the settings, and let your student(s) play it on the devices. You can make different choice cards for identifying the scale if that is something they have learned previously. Have the student experiment with improvising on the scale by pressing different buttons. You can even make different arrangements by colouring in different squares of these laminated grid charts. When your student has determined an idea they want to keep and replicate, they can colour in the grid card on a non-laminated sheet and keep it with their music.
  2. Experiment with rhythms. Your students can program all the elements of a beat on one of the Ableton devices in a step by step progression and complete each step of the process in a different lesson, working progressively. Make sure to keep track of their work using the grid charts. You can even label each grid card, week 1, week 2, etc. to build in the different steps. For some students, you can assist them by creating a rhythmic foundation, and then letting them program one or more other elements of the drum kit. You can check out how to program a beat in the Adaptive Instrument course coming out this fall!
  3. Practice instrument identification. You can place instrument option cards in front of them, and have them listen for the different percussion instruments as you begin to layer the sounds on Move or Push. 
  4. Support visual learners. Because each button lights up, and can be programmed to a different pitch, instrument, or motif, they are great for supporting visual learning. Take for instance the sequencer buttons, since each button is worth a 16th note, it can be a great way to help your student visualize the rhythmic subdivisions that exist between the 4 beats of a standard 4/4 measure. Visual distinction is especially important for students who struggle with understanding how to read rhythms, and is a great alternative tool for reinforcing concepts.
  5. Compose in a group. You can use an Ableton to create and record a group composition. For instance, you can use the sampler feature and have each person in the group record a different sound on an instrument, an object, or their own voice. You can then arrange those sounds into one (relatively) cohesive track, with the help of your students. You can also use a predetermined melody and add samples, or have each student pick a solfège card or letter name card and use a major scale preset to create a group melody. You can then let them each choose a different instrument to create an arrangement for that melody.
  6. Use as a drum machine. You can use Abletons as drum machines to replace a real drummer (if you’re missing a drummer), or add new rhythmic elements to a beat that the drummer is playing. If the drummer is playing on an acoustic kit, this can help add textural interest and variety to any arrangement!
  7. Use as a backing track. The Ableton devices are great tools for creating a backing track to improvise with during your lessons or classes. You can use the beat sequencer to arrange a beat for your student to improvise over or work on musical concepts. This makes the process more interactive, and provides additional stimulus over just using a metronome. You can also use a preprogrammed beat as a backing track while teaching rhythms or beats. In your class or lesson, you can have your student drum, stomp, or tap, or rap along with it, using the track as an ostinato.
We hope these suggestions give you some inspiration to get you started on using Ableton devices in your music classes and lessons. If you have other ideas or creative ways to use digital instruments in music teaching, we would love for you to share them with us! 

Happy Teaching! 

Justin & Olivia
Created with